Aligning reconstructions with high resolution shapes
It is often important to align SAXS reconstructions, either bead models such as those from DAMMIF/N or electron density from DENSS, with high resolution structural models such as those from x-ray crystallography to see how well they agree. RAW can do that automatically when you generate the models, as described in the DAMMIF/N and DENSS sections of the tutorial. RAW also provides standalone windows for doing the alignment with already generated reconstructions.
If you use DENSS alignment in RAW, in addition to citing the RAW paper, please cite the DENSS paper: T. D. Grant. Nature Methods (2018) 15, 191–193. DOI: 10.1038/nmeth.4581
If you use RAW to run CIFSUP, in addition to citing the RAW paper, please cite the paper given in the CIFSUP manual. Note that CIFSUP is only available in ATSAS >=3.1.0. For older versions of ATSAS a similar SUPCOMB window is available, the full tutorial for that can be found in previous versions of this tutorial.
A video version of this tutorial is available:
The written version of the tutorial follows.
Bead models - CIFSUP
CIFSUP from the ATSAS suite can be used to align two PDB/mmCIF files. In this context, one model (the reference) is the high resolution structure while the other (the target) is the bead model reconstruction.
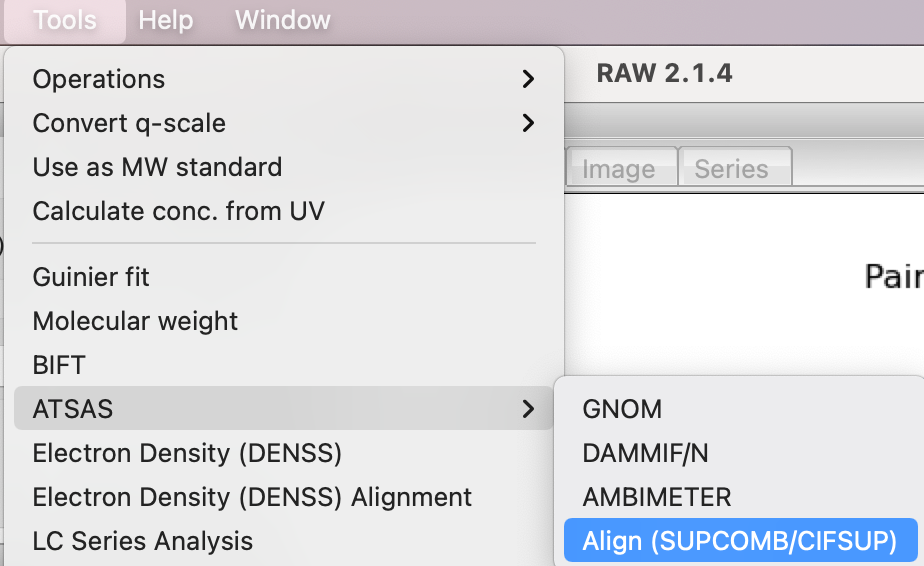
Open the CIFSUP window by selecting Tools->ATSAS->Align (SUPCOMB/CIFSUP) from the menu bar
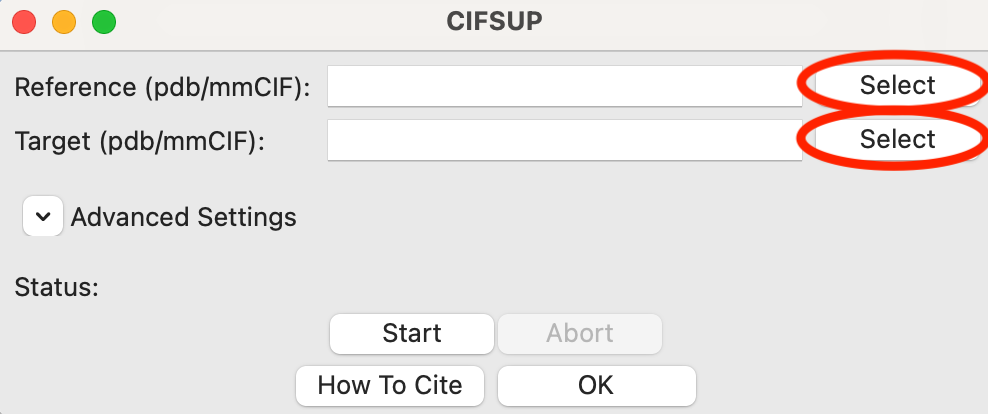
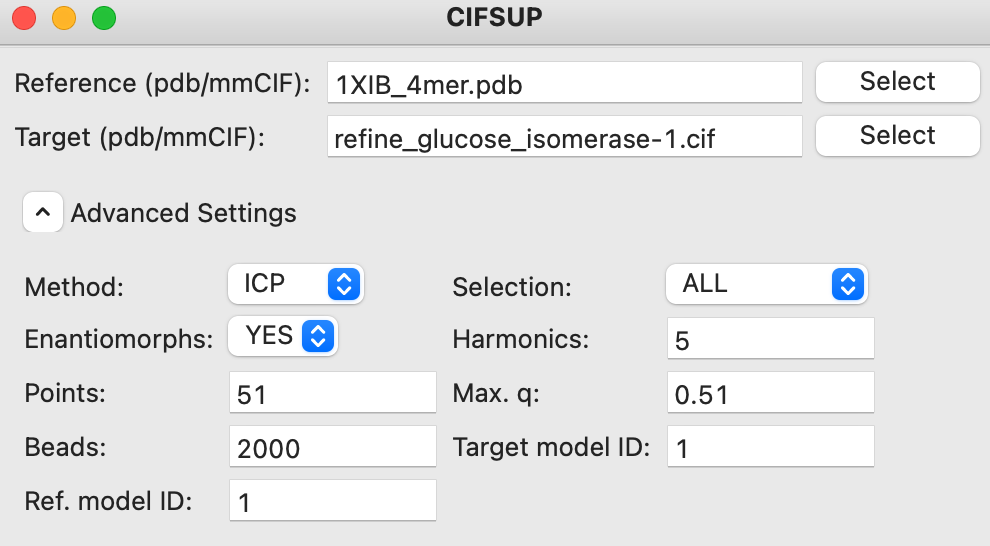
In the window that opens, ‘Target’ is the model that is aligned, where as ‘Reference’ is the model that the target is aligned to. In other words, the Reference model stays unchanged, while the Target model is moved to best align with the Reference.
Use the Reference ‘Select’ button to select reconstruction_data/gi_complete/1XIB_4mer.pdb as the reference file.
Tip: Only the filename will show up in either the Reference or Target box. If you hover your mouse over the filename it will show the full path to the file.
Use the Target ‘Select’ button to select reconstruction_data/gi_complete/gi_dammif/refine_glucose_isomerase-1.pdb
Click the start button. CIFSUP will run, and you should see the ‘Status’ update to ‘Running alignment’ and then ‘Alignment finished’.
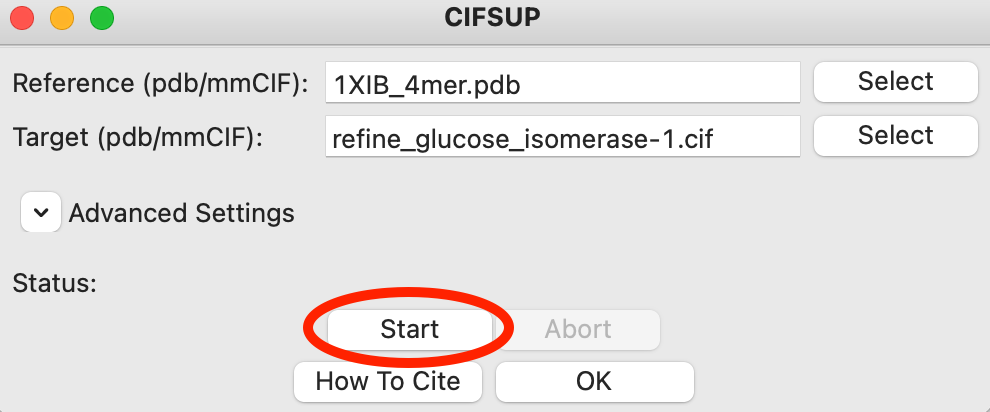
When CIFSUP is finished, in the same folder as the target file you will see a <target_name>_aligned.pdb file, which is the target model aligned with the reference file.
Advanced settings can be accessed by clicking on the ‘Advanced Settings’ text to expand the section. These settings are described in the CIFSUP manual.
Electron density
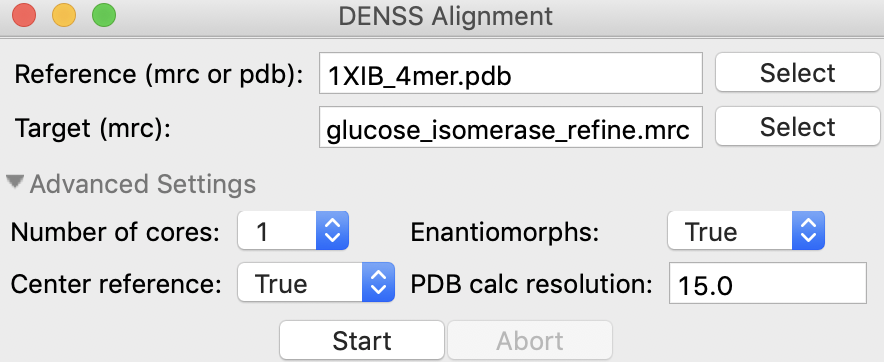
DENSS include a native tool for aligning two electron density files (.mrc) or an electron density to a PDB file. In this context, one model (the reference) is the high resolution
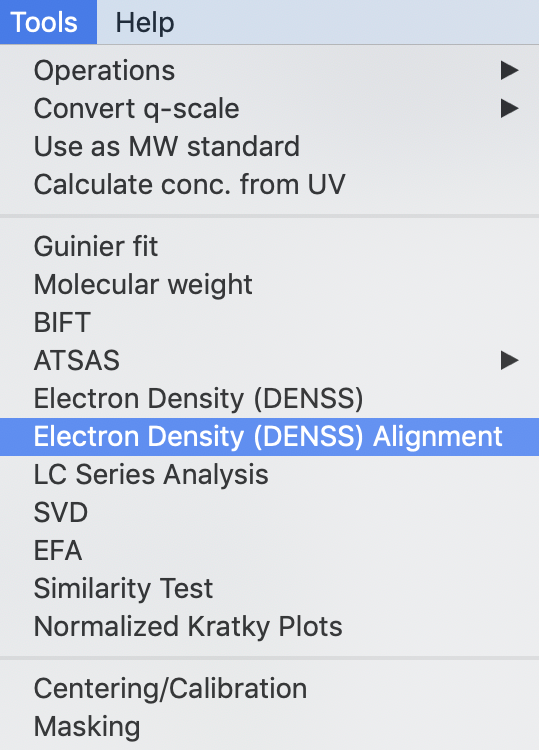
Open the Electron Density Alignment window by selecting Tools->Electron Density (DENSS) Alignment from the menu bar
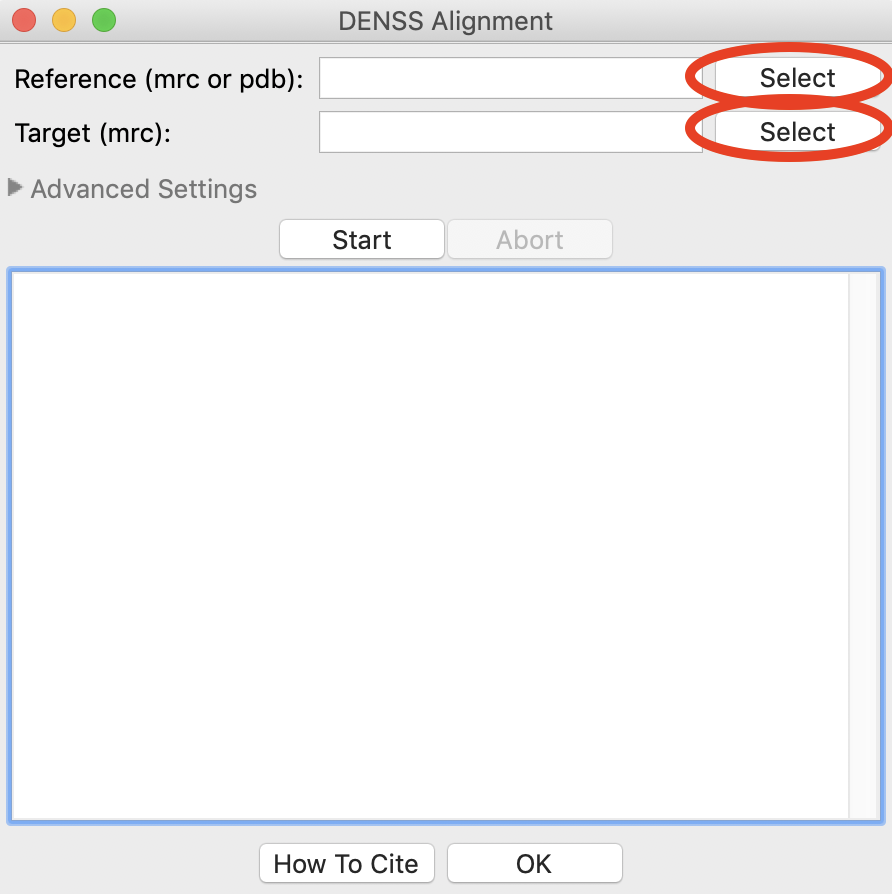
In the window that opens, ‘Target’ is the model that is aligned, where as ‘Reference’ is the model that the target is aligned to. In other words, the Reference model stays unchanged, while the Target model is moved to best align with the Reference.
Use the Reference ‘Select’ button to select reconstruction_data/gi_complete/1XIB_4mer.pdb as the reference file.
Tip: Only the filename will show up in either the Reference or Target box. If you hover your mouse over the filename it will show the full path to the file.
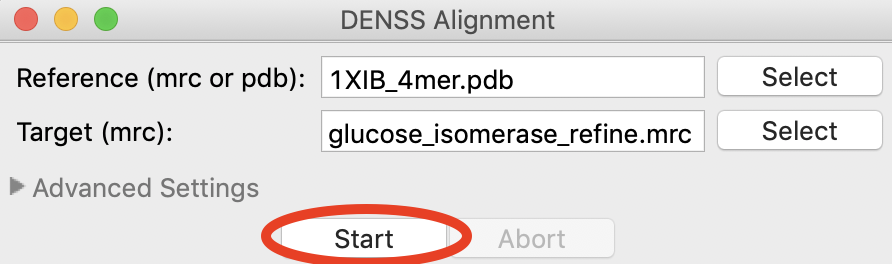
Use the Target ‘Select’ button to select reconstruction_data/gi_complete/gi_denss/glucose_isomerase_refine.mrc
Click the start button. DENSS alignment will run.
Tip: If there is already a file in the folder with the aligned output filename you will get a prompt to overwrite it.
Tip: By default, DENSS centers the Reference file. This writes out a file named <reference_name>_centered.pdb in the same folder as the reference file, which is what should be compared to the aligned file. You can turn this off in the Advanced Settings.
When alignment is finished, in the same folder as the target file you will see a <target_name>_aligned.mrc. Compare this to the <reference_name>_centered.pdb file in reference file folder. In this case those names are glucose_isomerase_refine_aligned.mrc and 1XIB_4mer_centered.pdb.
You can change the advanced settings by expanding the Advanced Settings section. These advanced settings are:
Number of cores: Number of cores to use during alignment
Enantiomorphs: Whether to generate enantiomorphs of the Target before doing the alignment.
Center reference: Whether to center the reference model at the origin. If used, this creates a <reference_name>_centered.pdb file in the same folder as the reference file.
PDB calc. resolution: The resolution of the density map created from the Reference PDB model to compare with the Target model. This has no effect if the Reference is already a density.